Installing the R Processing Plugin
The R Processing Plugin integrates R into the processing framework in a similar way to how the Python language is integrated.
Full installation documentation is in the QGIS docs, but there are some settings that you might want to change from the defaults so here are some brief notes.
Install
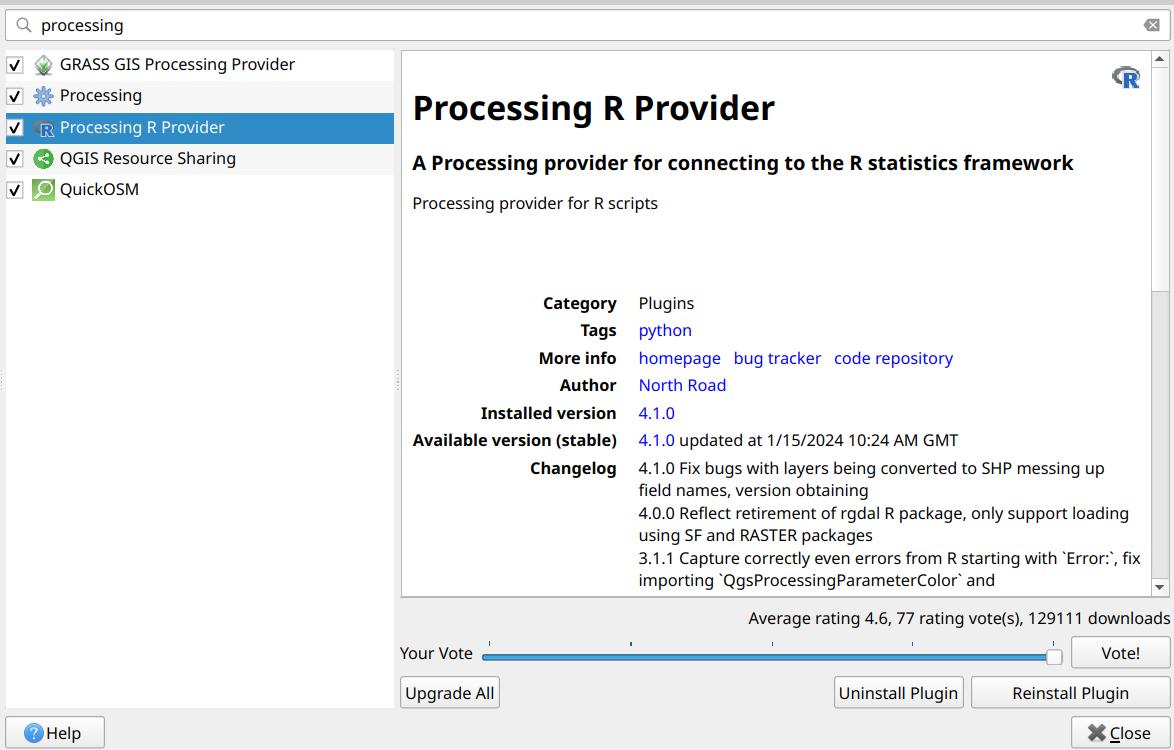
Get the plugin from the QGIS plugin dialog - search for “Processing” and you should see it.
Restart
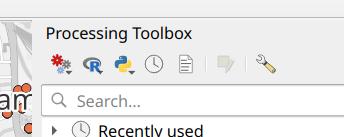
The plugin startup seems to not create all the buttons and actions on installation, so you need to quit QGIS and restart it. Then from the Processing menu open the Processing Toolbox and look for the R button at the top of it.
Configure
Before you run any R processing scripts, let’s check the configuration. Use the spanner (US: “wrench”) button on the right of the toolbox panel to get to QGIS’ options, and open the Providers and R items until you see something like this:
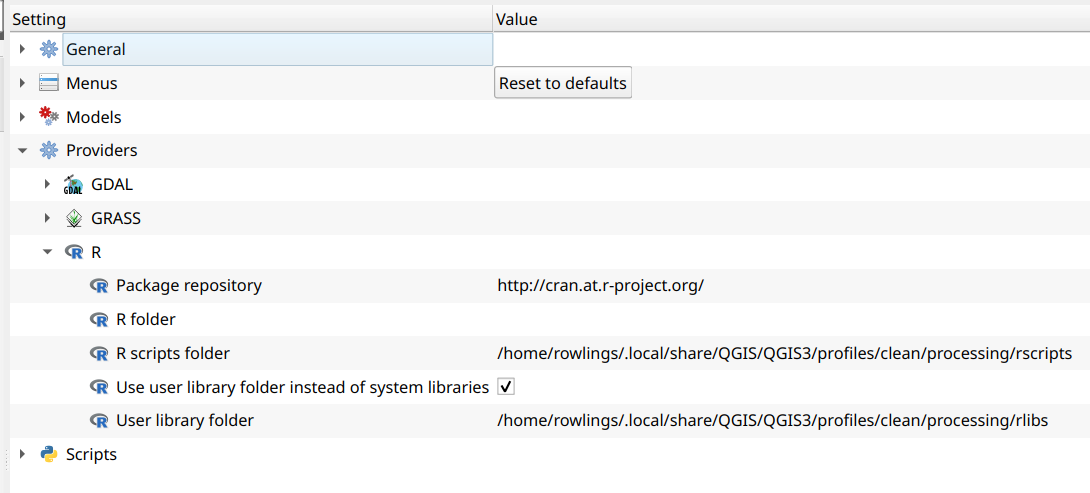
The plugin should have set good defaults for all these, except you might want to uncheck the Use user library folder instead of system libraries option:

If this setting is left checked, then the plugin may attempt to reinstall all the spatial packages into a new library when you first run it. If your first test run seems to take a while, this could be the reason.
If you uncheck it, then it will use the packages you have installed in your main R system. If you haven’t installed the necessary packages, run R in your usual way and install them, either with your IDE menus or the install.packages function. You don’t need to do this if you already have up-to-date spatial packages.
install.packages(c("sf","terra","raster","sp"))Run
To test your configuration we’ll create and run a minimal processing script.
From the R button in the Processing Toolbox buttons select Create New R Script... (its the only dropdown option). This opens a new editor window. Add the following text and save.
## Say Hello=name

##you=string

message("Hello ", you )
Saving will by default offer to save it to your models folder in your QGIS profile, which is where you want it to be. Save it under the name message and it should have a .rsx extension so its full name is message.rsx.
This file defines a script named Say Hello which has one parameter, a string with name you, and then some R code where the value of you gets replaced from the dialog when we run it.
On saving the script, the list of algorithms in the toolbox should refresh and Say Hello should appear under the R items.
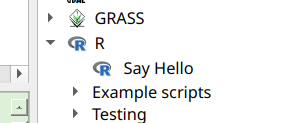
With a right-click (or a double-click) you can trigger the Execute action and get the parameter dialog:
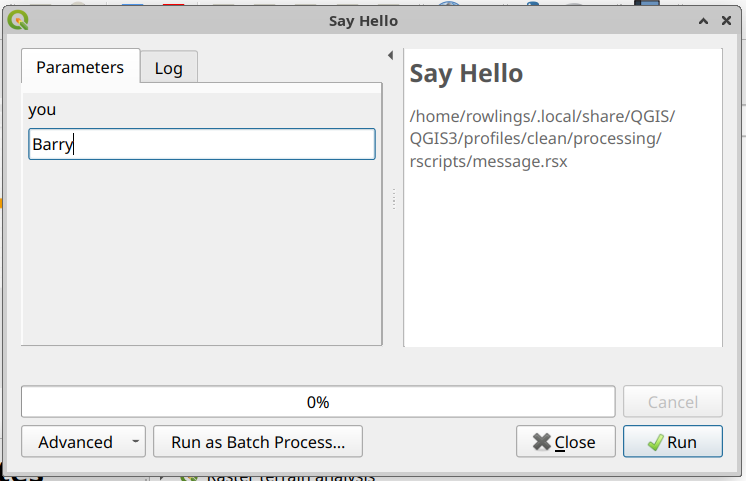
Put some text in the you box and click Run. The dialog will switch to the Log panel, show some startup messages and run your code, and then finish. You’ll probably get different warnings than I do, but there is where the “Hello Barry” message appears:
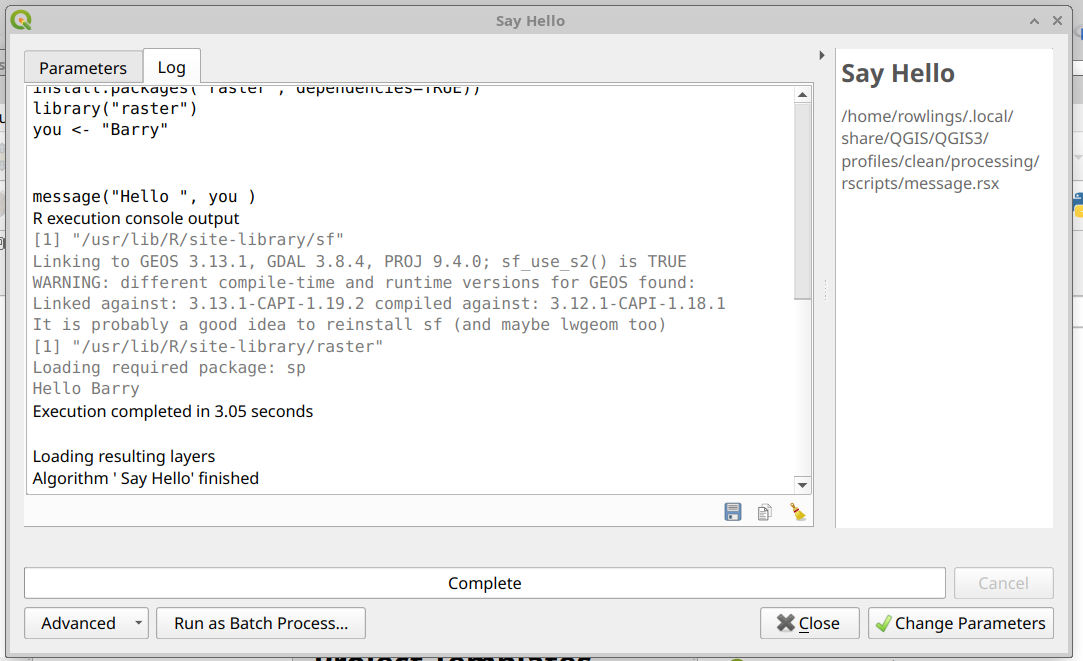
From this you can then hit the Change Parameters button and run again, or close this dialog and go back to editing.
Don’t Click the Green Button
At the top of the Script Editor window, next to the save icons, is a green “run” button that gives “Run Script” as a tooltip.
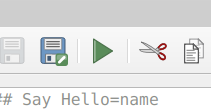
This will bring up the parameter dialog but the Run button here seems to do nothing. This seems like a bug and has been reported. Notice that this dialog doesn’t have the “help” section that the working dialog shown above has. If you’ve got this help-less dialog box up, then close it and use the Execute... option from the algorithm list.
Success
If you’ve got the R icon at the top of the Processing Toolbox panel, and have managed to enter and run the simple script above then you have installed everything and can proceed with the worksheet that uses this or develop your own scripts.